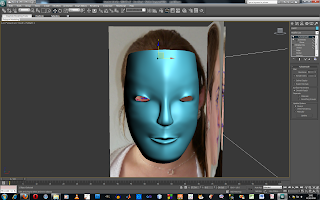
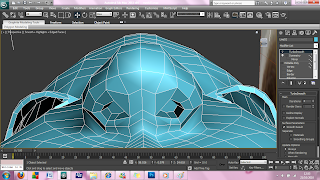
I found the overall project challenging but not impoosible to complete i did enjoy this project even though the mapping part was the hardest bit and took hours.
Doing this tutorial personally myself i found that i have learned alot more in the program like using certain fetures such as all the cut and welding and creating tools makes editing objects/polys more easier, ive started to use control + Z if u do something wrong in the program and a few other quick ways to do things... i also learnt the same with photoshop.
Things that i didnt think went well on the project was creating meshes i think i need to be more careful in how im making them or mabe think more about the shape of objects that im creating as in the project i found myself getting ahead then having to go back and edit some bits as i had not done things correctly or had bits sticking out, also mabe have spent more time on my skin to make it perfect as the images i was working with i feel was poor quality which made it hard at times.... if i had more time i would like to add some more features to it like mabe a necklace.
My Face
Friday, 22 October 2010
Thursday, 21 October 2010
Making The Skin
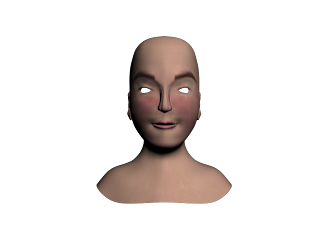
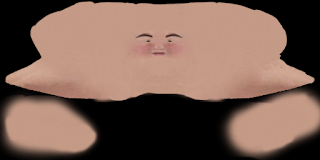 This is the final skin i used to edit in photoshop... i learened a few new tools in photo shop witch was the patching tool which was also very useful in coverin up lines and mixing in the colours on your face i also used liquidfy to move the mouth in the right place as it was very hard to get in the right place using the clone stamp tool..
Uvw Mapping
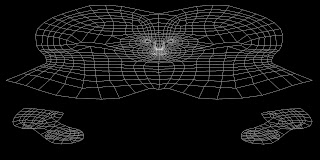 Final mesh makes a bit more sense in where my face is and it is alot closer together the only problem i had with this is that the pixalising of the the picture it wasnt as clear as it could of been i think it would have been move helpful if it was clearer!
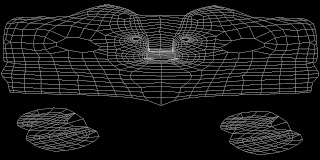 This is What the Wrong mesh looked lik as u can see the nose is way too far apart and if i was to apply this to my face the skin would not match up in the correct places so i had to go back and redo the whole process agen :(
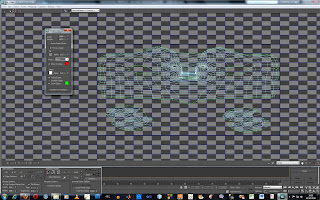 the wrong mesh because my mesh on the model was inncorrect as when i flattened it the meshed apperred to far apart as i had not flatterened them properly and streched the squares nicely all over the object,,, this was due to my mesh on the actual head being a bit out of place i had a few spare polys hangin on the back of the head which disruppted the mesh eek!! :/
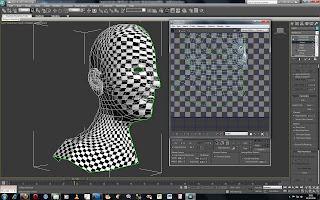 Final Checkered Material..
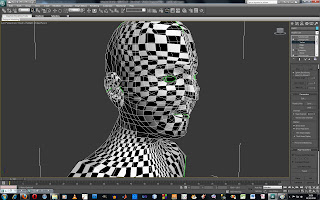 First time straigtening out the chequers u can see they are very much still stretched!
To Do unwrap uvw i used a chequered material in the material editor to make sure that it was all even so that when i placed the skin onto the object it wouldnt be stretched and would follow around the boject quiet nicely....
Tuesday, 19 October 2010
The Ear
Making The Head....
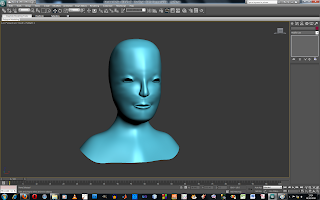 When The head Was Fully Made Using Shift And Pulling the Pollys Down i did come across a few problems with creating loads of triangle which was realli annoyin but i found that now i knew how to use the tools better like create and cut i found them really easy to edit..
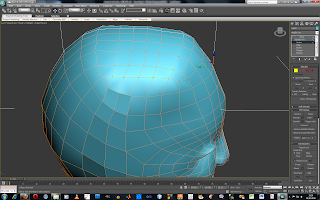
This way my first attempt at the head it didnt come out to well so i decided to remake it agen as i qorked out what i had to do so that it would be easier to make second time around... i didnt make it big enough and i hat to strech the head n then the shape of the head did not come out to nice..
.
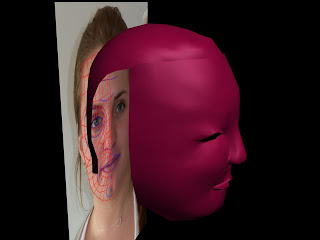
To make the head had to go back into photoshop and edit the typology of the head to get the shape, then back into 3dsmax to get a sphere and play around with it until it matched the size of my head... Then Using a Window & Crossing Tool to delete the pollys that i didnt need... i snapped the points together to the head once they are connected i used the loop and collapse tool to make less pollys which is a very good tool i found and useful to know!....Tto attach it to the face i selected it and clicked edit poly and then attach :)
Wednesday, 13 October 2010
Nose, Eyes And Mouth
Subscribe to:
Comments (Atom)


