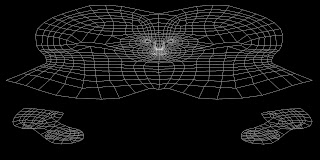
Final mesh makes a bit more sense in where my face is and it is alot closer together the only problem i had with this is that the pixalising of the the picture it wasnt as clear as it could of been i think it would have been move helpful if it was clearer!
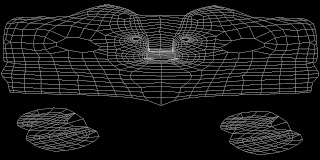
This is What the Wrong mesh looked lik as u can see the nose is way too far apart and if i was to apply this to my face the skin would not match up in the correct places so i had to go back and redo the whole process agen :(
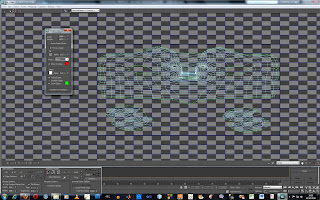
the wrong mesh because my mesh on the model was inncorrect as when i flattened it the meshed apperred to far apart as i had not flatterened them properly and streched the squares nicely all over the object,,, this was due to my mesh on the actual head being a bit out of place i had a few spare polys hangin on the back of the head which disruppted the mesh eek!! :/
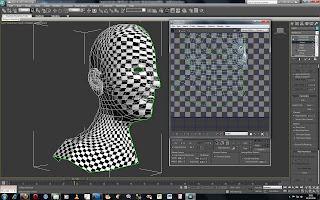
Final Checkered Material..
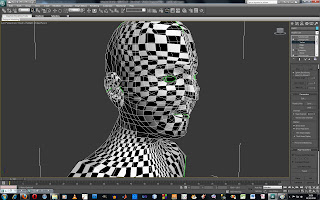
First time straigtening out the chequers u can see they are very much still stretched!
To Do unwrap uvw i used a chequered material in the material editor to make sure that it was all even so that when i placed the skin onto the object it wouldnt be stretched and would follow around the boject quiet nicely....
 My head is a bit bald Sooo Time To Add Some Hair :)
 This is the final skin i used to edit in photoshop... i learened a few new tools in photo shop witch was the patching tool which was also very useful in coverin up lines and mixing in the colours on your face i also used liquidfy to move the mouth in the right place as it was very hard to get in the right place using the clone stamp tool..
 this was a test to make sure it went into 3dsmax from photo shop as wen i started saving and then trying to look in £dsmax it went all fuzzy in a million different colours but i saved my photoshop file as a PNG.file and it came out fine...


